There are different ways in which you can format the text in your document. For example, you can change its size and colour. In this article, we will be focusing on the text’s font.
Font refers to the way your text looks. Google Docs offers a lot of fonts for you to choose from. For example, Cambria and Ariel are two popular fonts.
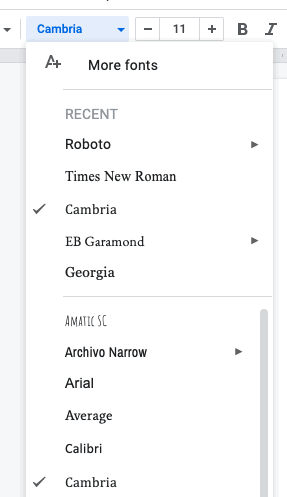
You can see the list of fonts that are available in Google Docs in the toolbar.
If you are not satisfied with the fonts that Google Docs already offers, you can install new ones. There are many situations in which you might want to install custom fonts. For example, if you are a graphic designer, you might want to use unique fonts for your projects.
The benefit of using a custom font is that it makes your document stand out. For example, you could use a readable custom font for your resume. This would help make it stand out among the thousands of resumes that a recruiter goes through.
Two methods of adding custom fonts in Goolgle Docs:
- Filtering the fonts that are already installed on Google Docs
- Using the Extensis Fonts add-on
Note that this article is meant for complete beginners. So, you can follow along even if you don’t have much experience with Google Docs.
With that introduction, let’s get started.


