Whatever you do in the Slide Master mode will reflect in all the rest of the slides. Therefore, the Master Views are only for design and visual aspects only. Once you have set up the master template to your satisfaction, you must close the Master View option. Now you can start working on your actual slides.
We will show you in simple, step-wise instructions how to create a slide master in PowerPoint. Let us start.
Method #1: Create a Slide Master
Step #1: Open a blank presentation.
Open a blank presentation.
Step #2: Pick any design theme for the presentation
Click on the Design tab in the top menu bar to change the ribbon.
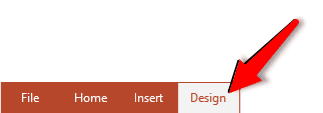
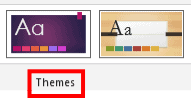
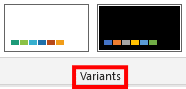
Select any design theme from the sections Themes and Variants.
Step #3: Use the Slide Master Option
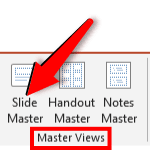
Click on the View tab in the top menu bar to change the ribbon.

Under section Master Views, click on the Slide Master tab.
PowerPoint presents a series of slides with a specific background and color palette. It also adds the typography of the design theme you had chosen earlier.
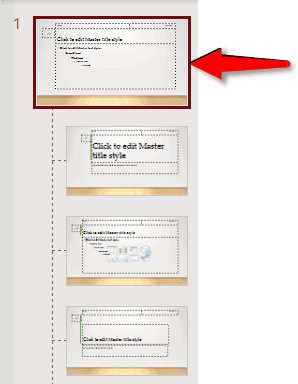
The top-most slide in the Slides Overview Pane is the main Slide Master.
Step #4: Edit the main Slide Master
In the Background section under the Slide Master tab, click on Colors.

This opens a list of color combinations, Office.

Select your color scheme from the list.
All the slides will get the same color scheme.

Likewise, you can customize the Fonts and Effects for each slide master.
Step #5: Customize Placeholders
Under the Master Layout section, click on the Master Layout icon.

This opens a list of Placeholders. Select the elements you want should appear on your slides.

Click on Ok to close.
Step #6: Modify Slide Layouts.
In the Slides Overview Pane in the left, PowerPoint offers 11 default layout settings.
Edit and alter these layouts until you are satisfied. Note that these are meant to ease the designing of your presentation later. Think through the type of layouts your presentation will need. This will allow you to avoid editing each slide separately.
To modify any slide layout, click on the slide.
Under section Edit Master, click on the Insert Layout icon.

A new slide will open, and you can modify the layout of the new slide.

Step #7: Close the Slide Master view.
Under section Close, click on the Close Master View icon to close the Slide Master view.

PowerPoint will present the Master Slide as you have designed it.

Conclusion
We have shown you in step-wise instructions how you can create a Slide Master in PowerPoint. Use our instructions to set up the Slide Master as you want for your presentations.