MS PowerPoint offers a slide sorter view with which to reorder your slides. You can drag and drop them into different sequences.
As you open a PowerPoint presentation, the left pane of the window holds the slides as thumbnails. To reorder them, you can drag the slides up and down in the left pane. But if you have many slides in your presentation, it is easier to use the slide sorter view to reorder them.
The slide sorter view is useful for:
- Viewing all slides at once
- Reordering slides
- Breaking a presentation into sections
- Modifying sections
We will show you how to use the slide sorter view to do all the above. We will use simple, step-by-step instructions.
Let us begin.
Method #1: Viewing All Slides at Once
Step #1: Open PowerPoint
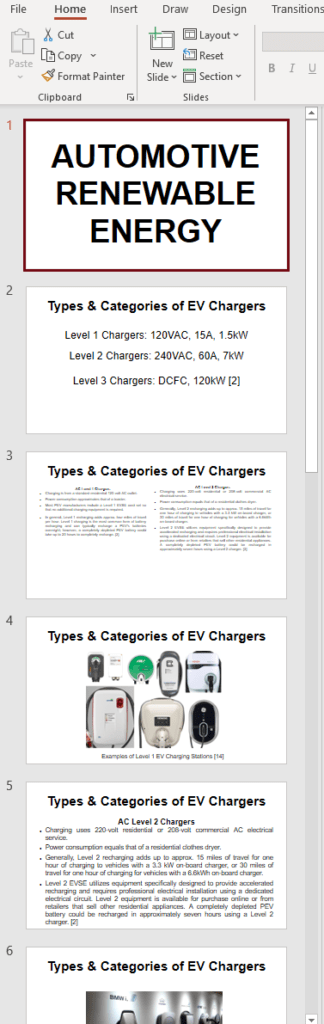
Open a PowerPoint presentation that has plenty of slides.
The left pane holds the thumbnails of slides.
Step #2: Change to Slide Sorter View
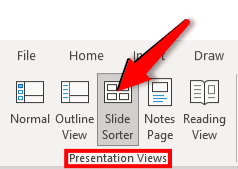
In the main menu bar, click on the View tab to change the ribbon.

On the View ribbon, in the section Presentation Views, click on the Slide Sorter icon.
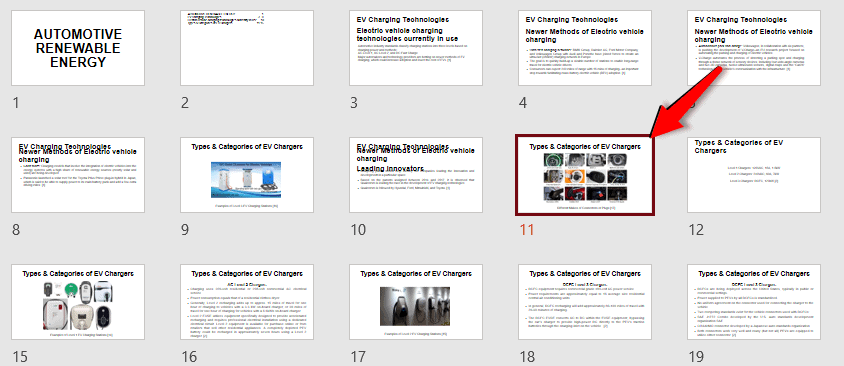
The right pane now shows a collection of slides rather than one single slide.

Use the zoom slider in the bottom right corner to bring all the slides within the window.
Drag the slider control to the left to make each image smaller, allowing more images to fit into the window.

Method #2: Reorder Slides
Step #1: Open PowerPoint
Open a PowerPoint presentation that has plenty of slides.
The left pane holds the thumbnails of slides.

Step #2: Change to Slide Sorter View
In the main menu bar, click on the View tab to change the ribbon.

On the View ribbon, in the section Presentation Views, click on the Slide Sorter icon.

The right pane now has a collection of slides rather than one single slide.

Use the zoom slider in the bottom right corner to bring all the slides within the window.
Drag the slider control to the left to make each image smaller, allowing more images to fit into the window.

Step #3: Reorder Slides
Click on, hold, and drag the slide you want to a new position.
Other slides will move to accommodate the slide you are dragging.
Method #3: Create Sections
Step #1: Open PowerPoint
Open a PowerPoint presentation that has plenty of slides.
The left pane holds the thumbnails of slides.

Step #2: Change to Slide Sorter View
In the main menu bar, click on the View tab to change the ribbon.

On the View ribbon, in the section Presentation Views, click on the Slide Sorter icon.

The right pane now has a collection of slides rather than one single slide.

Use the zoom slider in the bottom right corner to bring all the slides within the window.
Drag the slider control to the left to make each image smaller, allowing more images to fit into the window.

Step #3: Create Sections
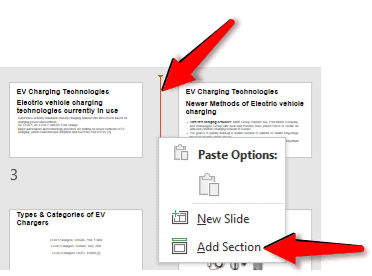
Right-click between two slides where you would like to create a split.
A red line and a menu will appear.
Click on Add Section in that menu.
All slides after the split will move down to a new position named Untitled Section.
A dialog box will open, allowing you to rename the section.
Enter the new Section name: in the field, and click on the Rename button.
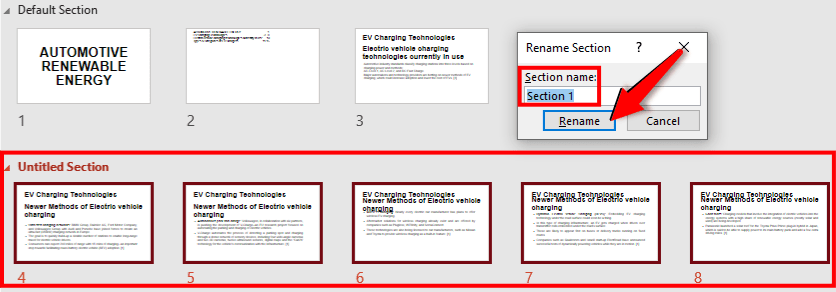
The slides are now divided into a Default Section and the new Section you have created.
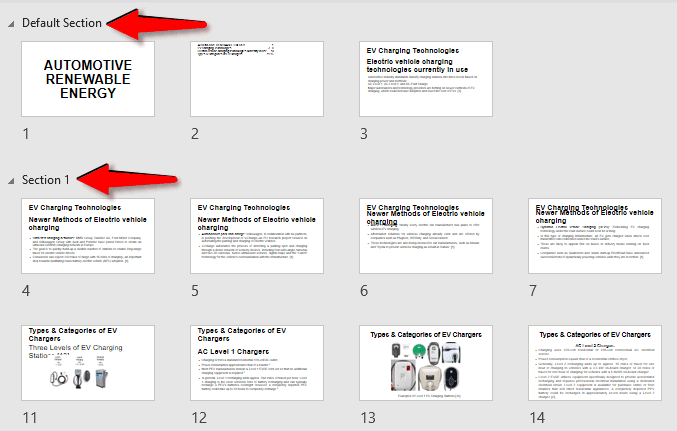
You can create as many new sections as necessary.
Method #4: Modify Sections
Step #1: Open PowerPoint
Open a PowerPoint presentation that has plenty of slides.
The left pane holds the thumbnails of slides.

Step #2: Change to Slide Sorter View
In the main menu bar, click on the View tab to change the ribbon.

On the View ribbon, in the section Presentation Views, click on the Slide Sorter icon.

The right pane now has a collection of slides rather than one single slide.

Use the zoom slider in the bottom right corner to bring all the slides within the window.
Drag the slider control to the left to make each image smaller, allowing more images to fit into the window.

Step #3: Modify Sections
Right-click on the section name you want to change.
A menu will appear with several options:
- Rename section — Change the name of the selected section.
- Remove section — Delete the name of the section and merge all the slides inside with the section above it.
- Remove Section & Slides — Delete the name of the selected section, and also delete all slides within the section.
- Remove All Sections — Delete all section names.
- Move Section Up — Move the selected section up by one position.
- Move Section Down — Move the selected section down by one position.

Make the necessary choice for modifying the sections.
Conclusion
We have shown you in simple step-by-step instructions different ways of using the slide sorter view in PowerPoint to manage your slides.