You can insert a timer in a Google Slide to count time down or up. For example, this shows your audience know how much time they have left to answer a quiz.
Google Slides does not provide a built-in function to insert a timer. This tutorial shows you how to insert a timer in Google Slides.
3 Methods to insert a timer in Google Slides:
- Add a video of a timer from YouTube
- Add a video of a timer from Google Drive
- Use the Slide Timer extension
Let us begin.
Method #1: Add a Video of a Timer from YouTube
This method makes use of available timer videos on YouTube. You will need to be online for this kind of timer to work.
Step #1: Open your Google Slide presentation
Open your presentation from the Google Slides home screen at slides.google.com.
In the navigation pane on the left, click the slide in which you want to insert the timer.
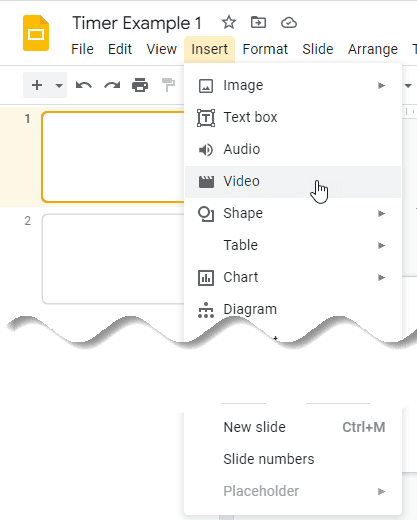
Step #2: Add the timer video
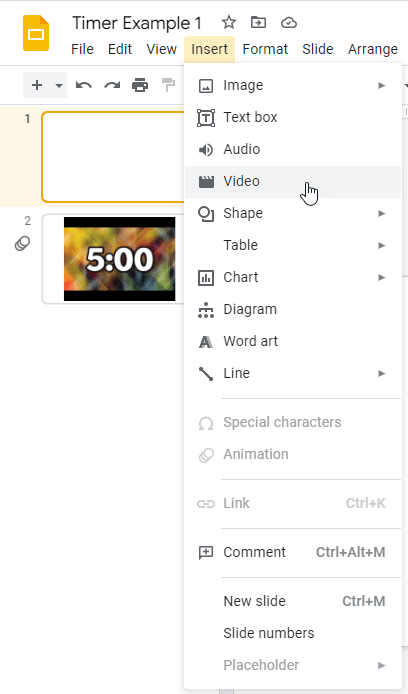
From the main menu bar, click on the Insert tab.
From the dropdown menu, click on Video.
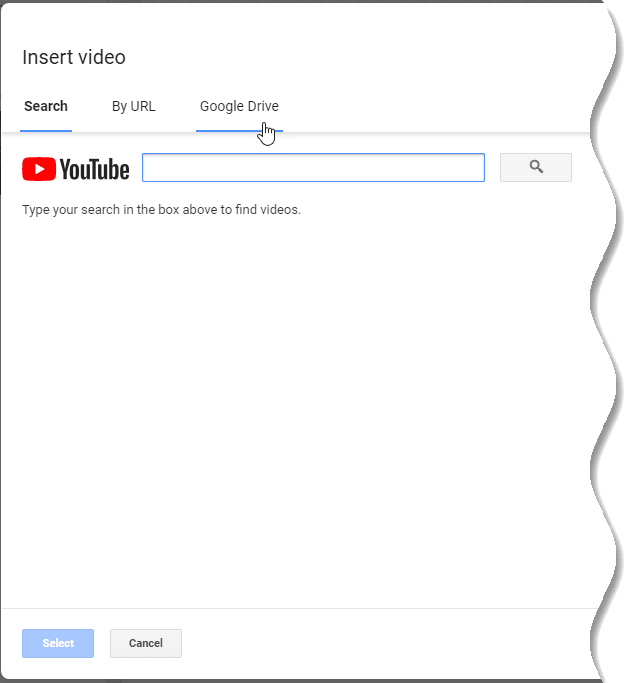
In the Insert Video dialog box that pops up, you can use either of the two options for inserting a YouTube video:
- Search YouTube
- Enter YouTube video URL
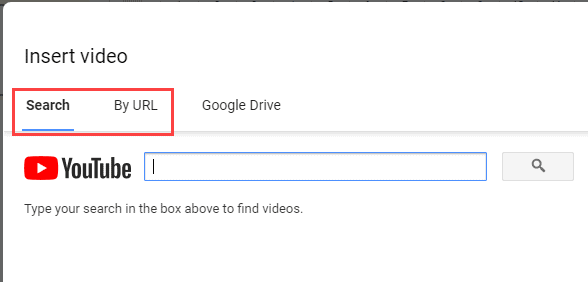
Option #1: Search YouTube
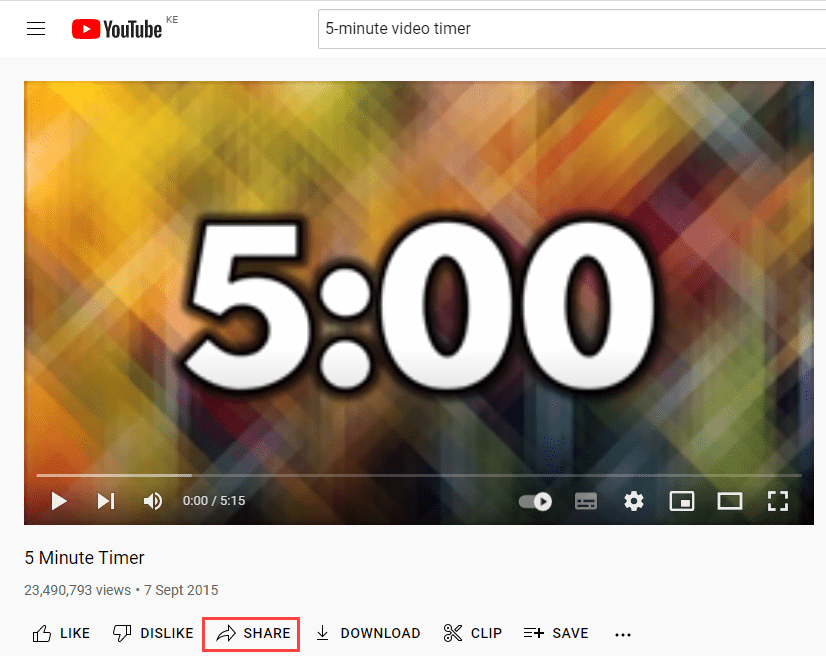
Enter a phrase such as “5-minute video timer” in the search box.
Press Enter or click the magnifying glass icon to start the search.
You will get a list of results, as in the example search below:
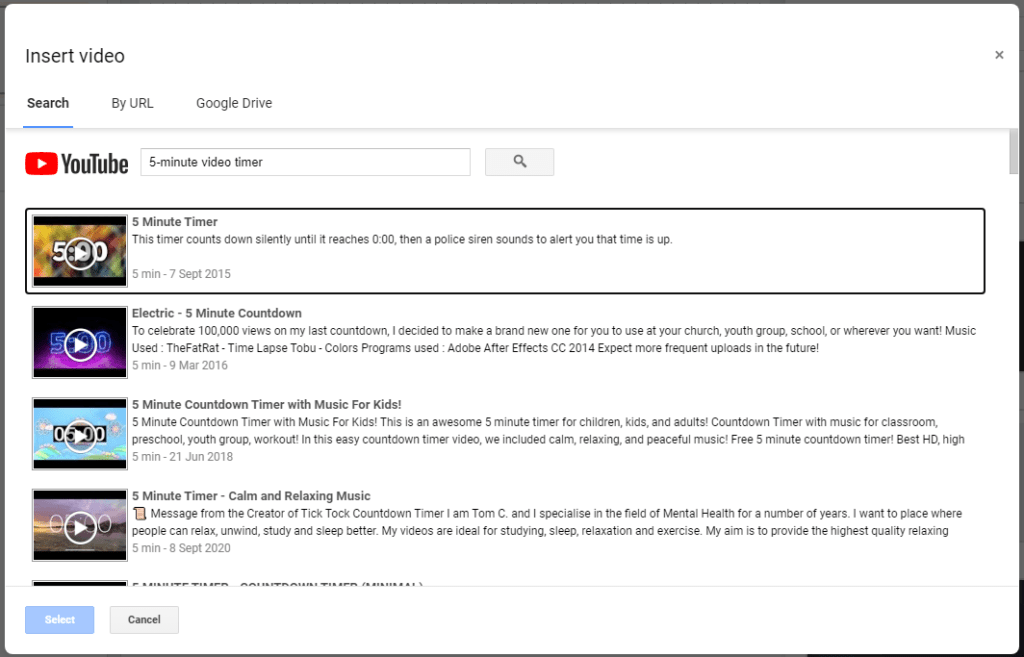
Click the timer that you prefer and click the blue Select button.
The timer video is added to the slide.

Option #2: Enter YouTube video timer URL
This option is the quickest way to get the exact YouTube timer video you want for your presentation.
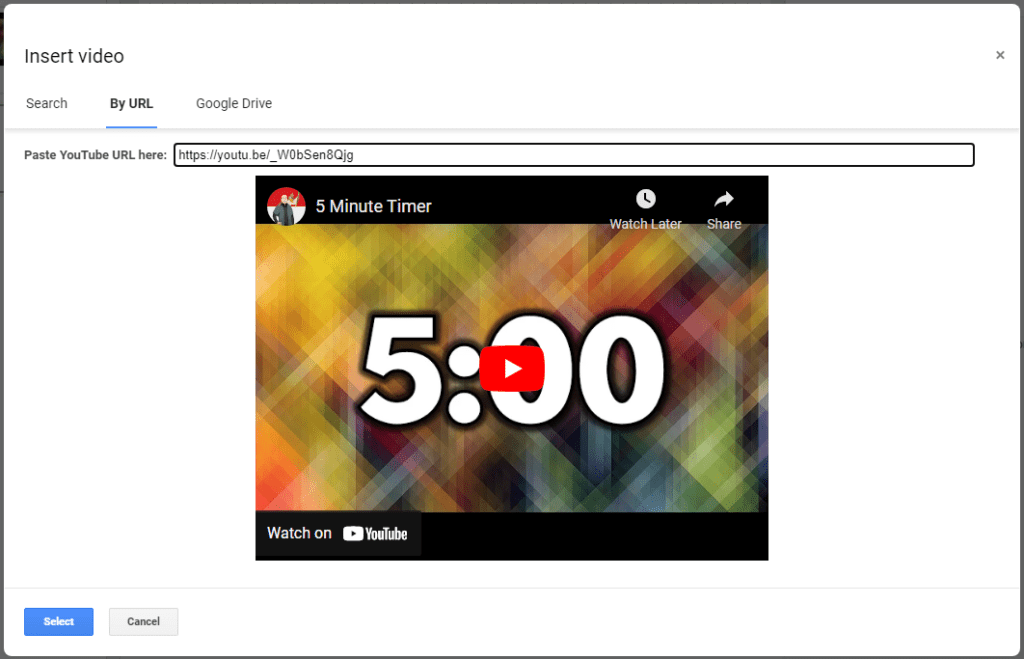
Click By URL in the Insert video dialog box.
Open the YouTube timer video you want in another browser tab.
Click the Share button at the bottom of the video to open the Share dialog box.
In the Share dialog box that pops up, click COPY to copy the video URL.

Switch back to the Insert video dialog box.
Click in the Paste YouTube URL here box, and press Ctrl + V to paste the timer video URL.
The preview of the video you selected will show up. Click the blue Select button to add the timer video to the slide.
The timer video is added to the slide, as in the example below:
Step #3: Position and resize
Hover the mouse pointer over the timer video and see the cursor turn into a four-headed arrow.
Click and drag the video to your desired location on the slide. As you drag the video, red guidelines appear to assist you in centering the video within the slide.

Resize the video by clicking on and dragging one of the blue boxes on the border of the video.
We suggest you only use the corner boxes when resizing the video to avoid distortion.
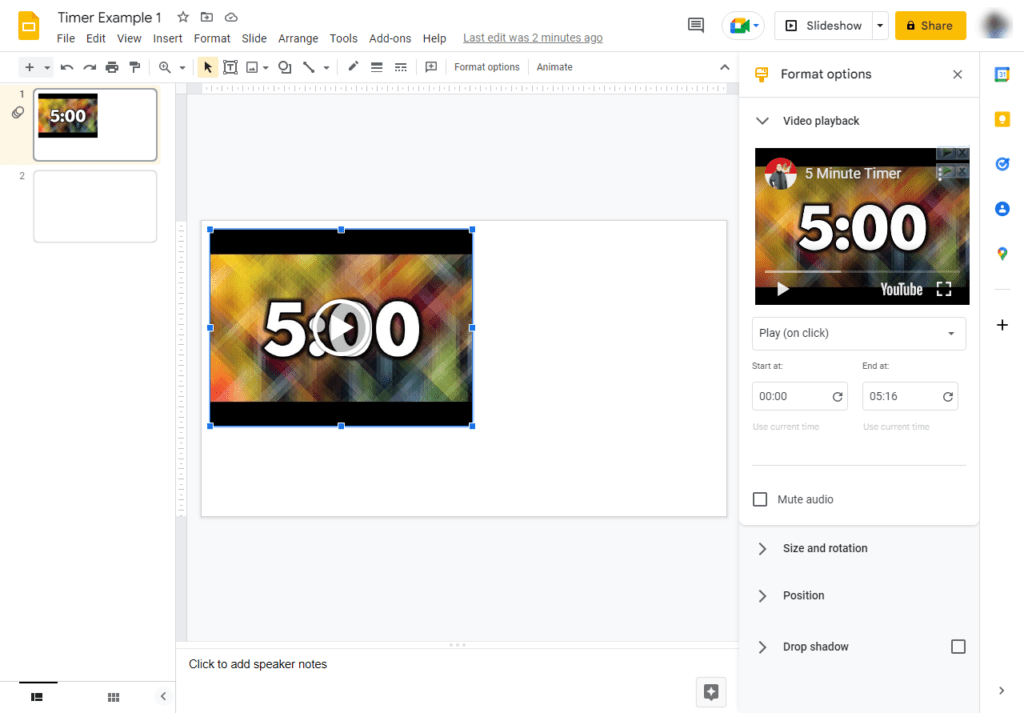
Step #4: Set the format options
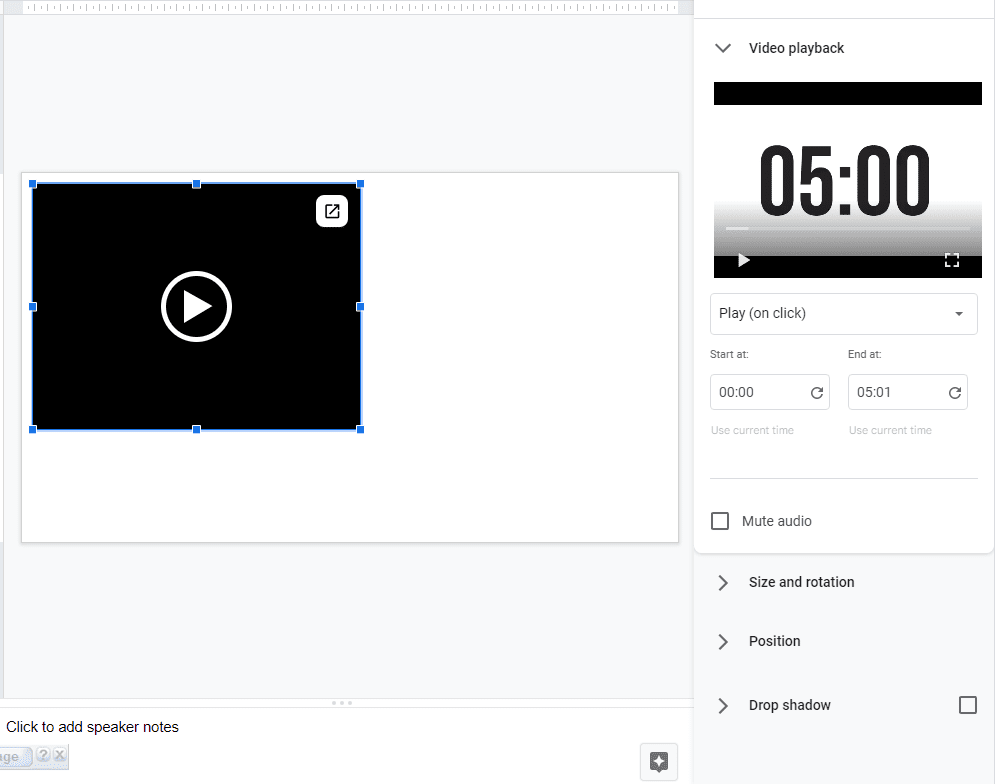
The behavior of the YouTube timer video depends on the settings you set. You adjust settings in the four options on the Format options pane on the right side of the slide:

Option #1: Video playback
Click on the arrow next to the Video playback option to open the settings.
Click the down arrow in the Play drop-down control to see the options that control video playback:

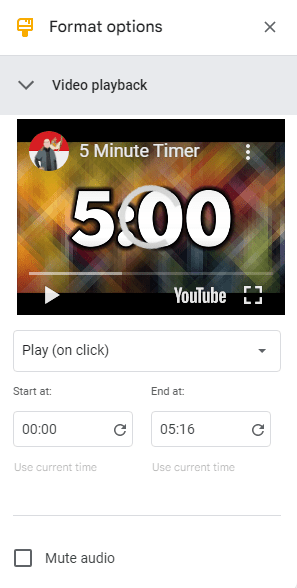
Play (on click) is the default setting. It means the timer video plays when you advance the slide by a remote clicker, pressing a key, or clicking a mouse.
Play (automatically) – The timer video starts to play without your intervention.
Play (manual) – The timer video plays when you click the play icon on the embedded video.
You can mute the audio on videos by checking the Mute Audio checkbox.
Option #2: Size and rotation
Click the arrow next to the Size and rotation option to open its settings:

You can change the settings in this option to change the size of the video, flip the video or even rotate it. We recommend that you check the Lock aspect ratio checkbox. This ensures that you do not distort the shape of your video as you adjust the settings.
Option #3: Position
Click the arrow next to the Position option to open the settings:

You can change the vertical (x) position and/or the horizontal (y) position of the timer video. Use either the Top left or Center of the video as the starting point or origin.
Option #4: Drop Shadow
Click the arrow next to the Drop shadow option to open the settings.

You can adjust these settings to add a shadow effect to the frame of the timer video. Then adjust its color, transparency, angle, distance, and blur radius.
For more information, read How to Embed a YouTube Video in Google Slides.
Method #2: Insert a Timer Video from Your Computer
To insert a timer video stored on your computer in a Google Slide, you must first upload it to Google Drive. If your slide is set to be available offline, your timer video will still be available even if internet connection is lost.
Step #1: Upload the timer video to Google Drive
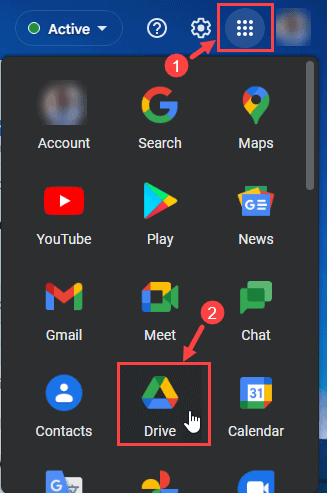
In your Google account, click the Google apps button to open the Google apps list.
Click the Drive app button to open Google Drive.
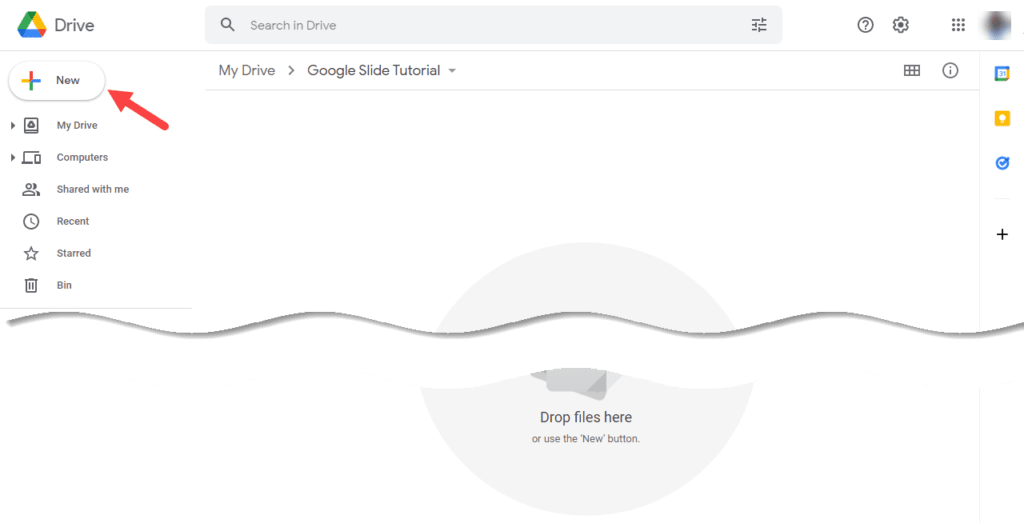
Click the + New button in the top left of Google Drive.
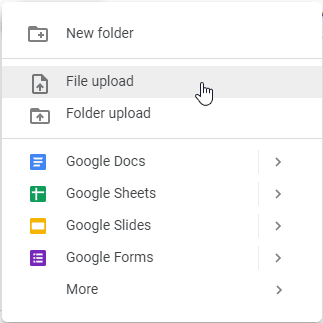
Click File upload on the menu that pops up.
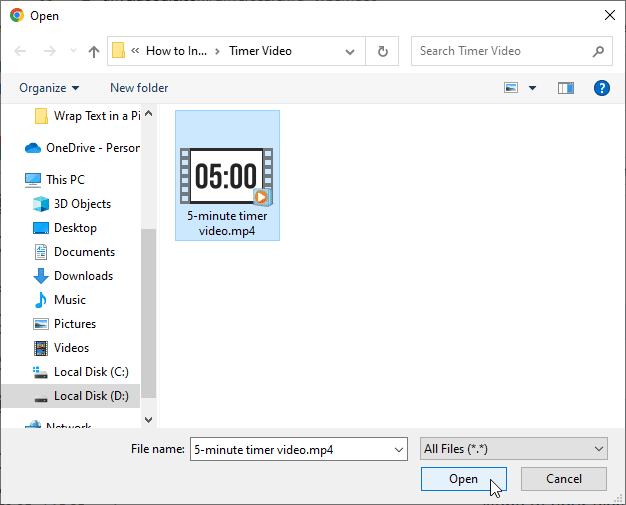
In the Open dialog box that appears, navigate to the folder that stores your video file.
Select the timer video file and click the Open button.
Your timer video file is uploaded to Google Drive as shown in the example below:

Step #2: Insert the video into Google Slide
Click the Google apps button in your Google account.
Click the Slides app button from the apps list to open the Google Slides home screen.

Open your Google Slides presentation. Select the slide to which you want to add the timer video.
From the main menu, click on the Insert tab.
From the drop down that opens, click the Video option.
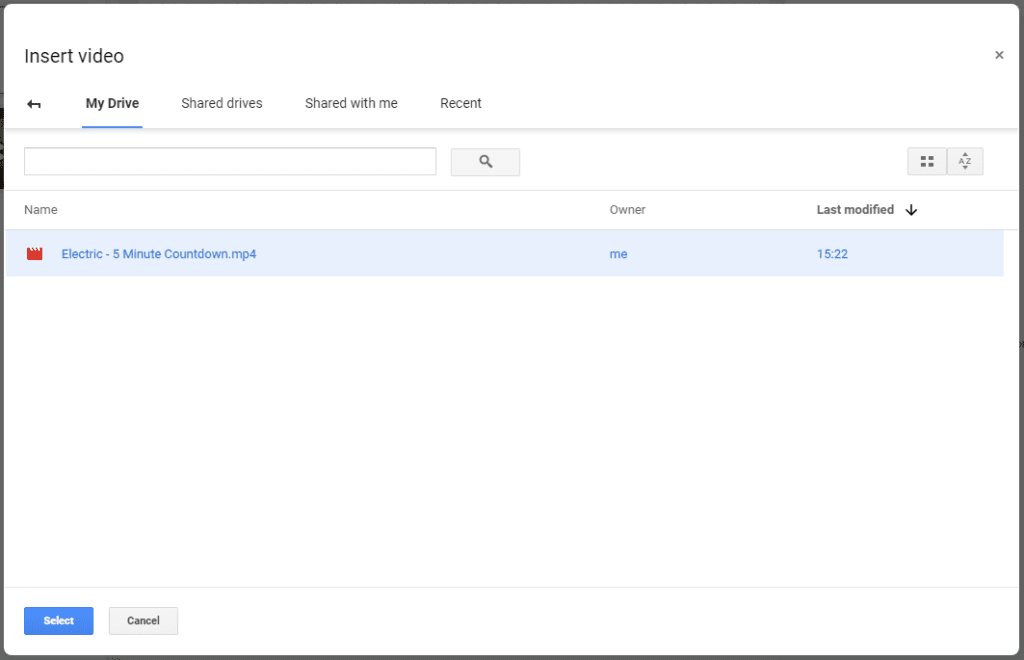
Click the Google Drive tab on the Insert video dialog box that pops up:
Select the timer video file you uploaded onto Google Drive.
Click the blue Select button to add the video to the Google Slide.
The timer video is inserted.
Resize, position, and apply format settings to the timer video as explained in Method #1.
Method 3: Use the Slides Timer Extension
You can use the Slides Timer extension to insert a timer in Google Slides. The extension allows you to add more customization to the way the text in the timer looks.
Step #1: Open your Google Slides presentation
Open your presentation from the Google Slides home screen at slides.google.com.
In the left navigation pane, click the slide in which you want to insert the timer.
Step #2: Insert the timer
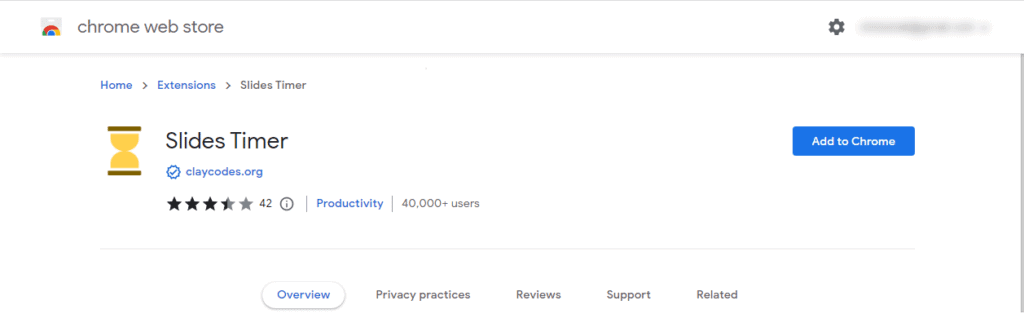
Click here to find the Slides Timer extension on Chrome Web Store.
Click the Add to Chrome button to add the extension to the Chrome browser.
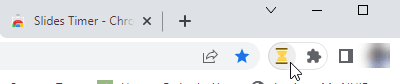
Click the Extensions button on the toolbar.
Then click the pushpin button on Extensions menu to pin the Slides Timer on the toolbar.

Ensure that the Slides Timer extension is visible on the toolbar.
Switch back to your Google Slides presentation.
Click the newly added Slides Timer extension.

You can use the Slides Timer extension to create a count-down or count-up (stopwatch) timer.
Create a count-down timer
In the navigation pane on the left, click the slide to which you want to add the timer.
Click the Text box command on the Google Slides toolbar.
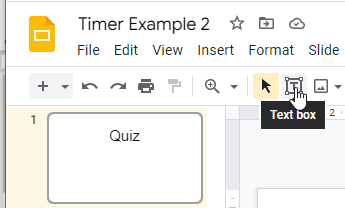
Click inside the slide to insert a textbox.

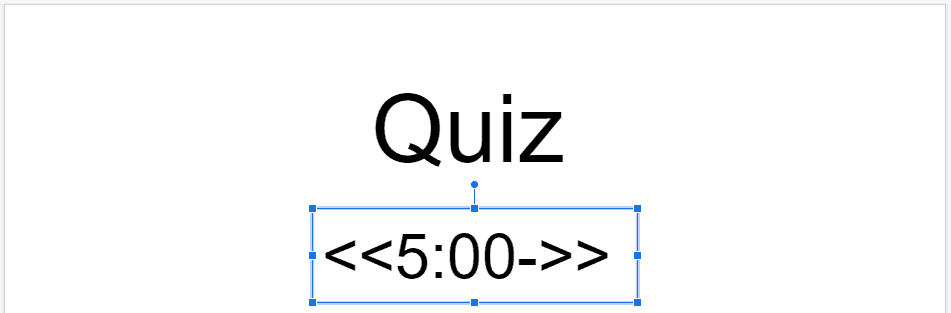
Type in the textbox your preferred time in the format << time->>. For example, for a 5-minute countdown type in <<5:00->>.
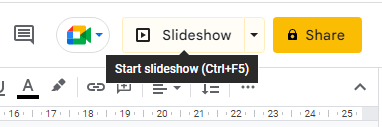
Press Ctrl + F5 or click the Slideshow button on the top right of the slide.
The text is converted to a count-down timer.

Create a count-up timer
Type in the textbox your preferred time in the format << time+>>. For example, if you want the count-up timer to start at 0 (zero) seconds, type in <<00:00+>>.

Press Ctrl + F5 or click the Slideshow button on the top right of the slide.
The text is converted to a count-up timer.

Conclusion
Google Slides does not have built-in functionality to insert a timer in a slide. This tutorial demonstrated three methods to insert a timer in Google Slide. They involve external means.
You can either insert a video from YouTube or your computer or use the Slide Timer Extension.