You can use Microsoft Excel to organize a mailing list. You can then mail merge this list using Word to generate and print mailing labels. We recommend using Excel to make the list, as it has better organizing capabilities and can better maintain data than a Word table can.
To make the list in Excel, you must create column headers. Place the headers in the first row of each column. Insert data in the list according to the header in each column.
We will show you in simple, easy steps how to create mailing labels in Word from an Excel list.
Let us begin.
Step #1: Create the Headers in Excel
- Open a new Excel worksheet.
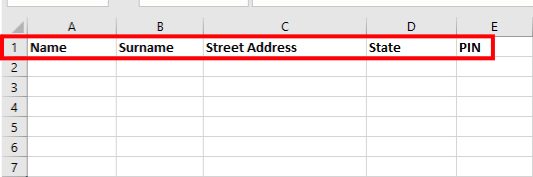
- In the first cell of the first column, enter the header Name.
- In the first cell of the next column, enter the header Surname.
- In the first cell of subsequent columns, enter the headers:
- Street Address
- City
- State
- PIN Code
Note: You can change the headers to suit your mailing list. You can also add or subtract headers suitably.
Step #2: Save as a Mailing List
- The File menu can be accessed by clicking the File tab in the top menu bar.

- In the File menu that opens, click on the Save As tab.

- In the right pane, under Other locations, click on the Browse icon.

File Manager will open.
- Select an appropriate location for the file to be saved.
Use a suitable file name and save as type: Excel Worksheet.
- Click on Save at the bottom to save the file.

Step #3: Generate the Mailing List
- Fill in the data of your mailing list under respective headers.

- Save the file.
Step #4: Create a Labels Page in Word
- Open a blank document in Word.
- To change the ribbon, go to the top menu bar and select the Mailings tab.

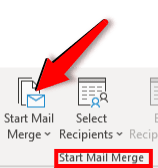
- In the section Start Mail Merge, click on the icon Start Mail Merge.
- In the drop-down menu that opens, click on Labels.

This opens the Label Options dialog box.
- Select Page printer, and a suitable paper Tray.
- Select the Label vendor you want to use.
- Select the appropriate label Product number.
- Click the OK button at the bottom.

This will create the labels page.
Step #5: Make Borders Visible
- Click on the Design tab in the top menu bar to change the ribbon.

- In the section Page Background, click on the Page Borders icon.

The Borders and Shading dialog box will appear as a result.
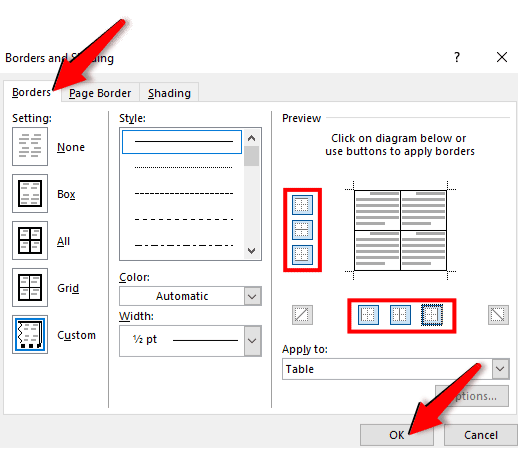
- Click on the Borders tab.
- In the Preview panel, click on the six buttons to switch on the borders.
- Click the OK button at the bottom to close the dialog box.
Now, each label border is visible on the labels page.

Step #6: Connect the Labels page to Excel Worksheet
- Change the ribbon by selecting the Mailings tab from the top menu bar.

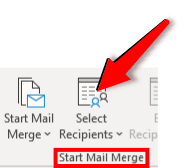
- In the section Start Mail Merge, click on the icon Select Recipients.
- From the drop-down menu that opens, click on Use an Existing List.

File Manager will open.
- Pick the Worksheet you had saved earlier.
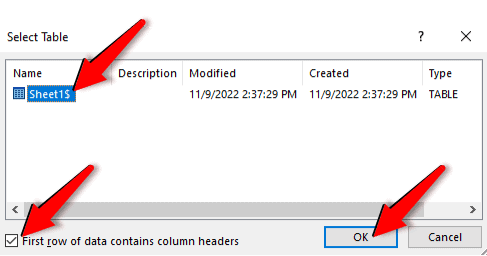
A Select Table dialog box will open.
- Click the Sheet that contains your mailing list.
- Click and select First row of data contains column headers.
- Click OK to close the dialog box.
This connects your labels to the mailing list.
Step #7: Merge the List to the Labels
- The ribbon may be modified by selecting the Mailings tab from the top menu bar.

- In the section Write & Insert Fields, click on the icon Address Block.

An Insert Address Block dialog box will open.
- Click on the Match Fields tab at the bottom.

A Match Fields dialog box will open.
- Under Required for Address Block, match the headers in your mailing list to the fields on the left.
- Click OK to close the dialog box.

The Insert Address Block dialog box should show the correct address in its preview section.
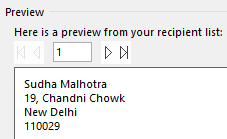
- Click OK to close the dialog box.
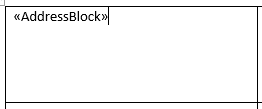
The labels page will now have <<AddressBlock>> in the first label.
Step #8: Update the Labels
- To change the ribbon, select the Mailings tab from the top menu bar.

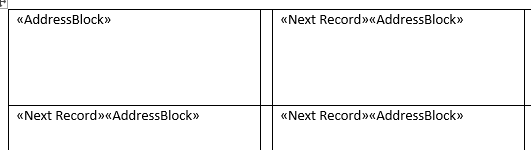
- In the section Write & Insert Fields, click on the icon Update Labels.

This prepares your labels page to receive data from the mailing list.
Step #9: Mail-Merge the Data
- To modify the ribbon, select the Mailings tab from the top menu bar.

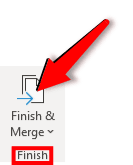
- In the section Finish, click on the icon Finish & Merge.
- In the drop-down menu that opens, click on Edit Individual Documents.

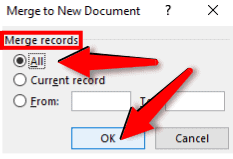
A Merge to New Document dialog box will open.
- Under Merge records, click to select All.
- Click OK to close the dialog box.
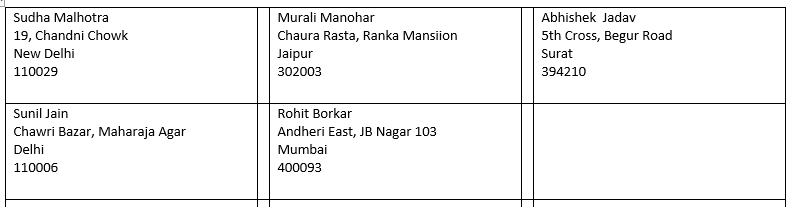
Now, all the labels should have updated addresses from the mailing list.
Step #10: Print the Labels
- To access the File menu, select the File tab from the top menu bar.

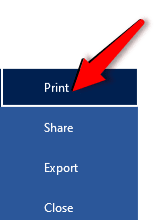
- In the left panel, click on the Print tab.
- In the center panel, under Printer, select Microsoft Print to PDF.
- Under Settings, select Print All Pages.
- Under Settings, select Print One Sided.
- At the top, select the Print button.

File Manager will open.
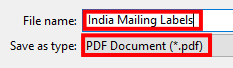
- Select a suitable location and a suitable name.
- Save the PDF file for later printing.
Conclusion
We’ve explained how to use an Excel mailing list to generate labels in Word. Use this approach to make labels quickly.