To simply put, a justified text is spaced so that the sides of your paragraphs are aligned to both the left and right margins.
MS Word automatically fills in spaces between words to achieve clean-cut edges rendering paragraph lines to be of the same length.

3 Ways to Justify Text in Word
- Using the Justify text-alignment button
- Using a shortcut key
- Using the Context menu
Lets get started.
Method 1: Using the Justify Text-alignment Button
Step 1: Open an MS Word document.

Step 2: Select the text.
Select the text that you want to be justified. Then, go to the Home tab and select the Justify icon found under the Paragraph group.

This will justify the selected text.
Method 2: Using a Shortcut Key
Step 1: Open an MS Word document.

Step 2: Select the text.
Select the text you want to justify.
Now, hit the CTRL + J keys on your keyboard to justify the selected text.

There you have it! You’ve just used a shortcut key to justify text in Word!
Method 3: Using the Context Menu
Step 1: Open a Word document.

Step 2: Select the text.
Now that you have your document ready, go ahead and select the text that you want to be justified.

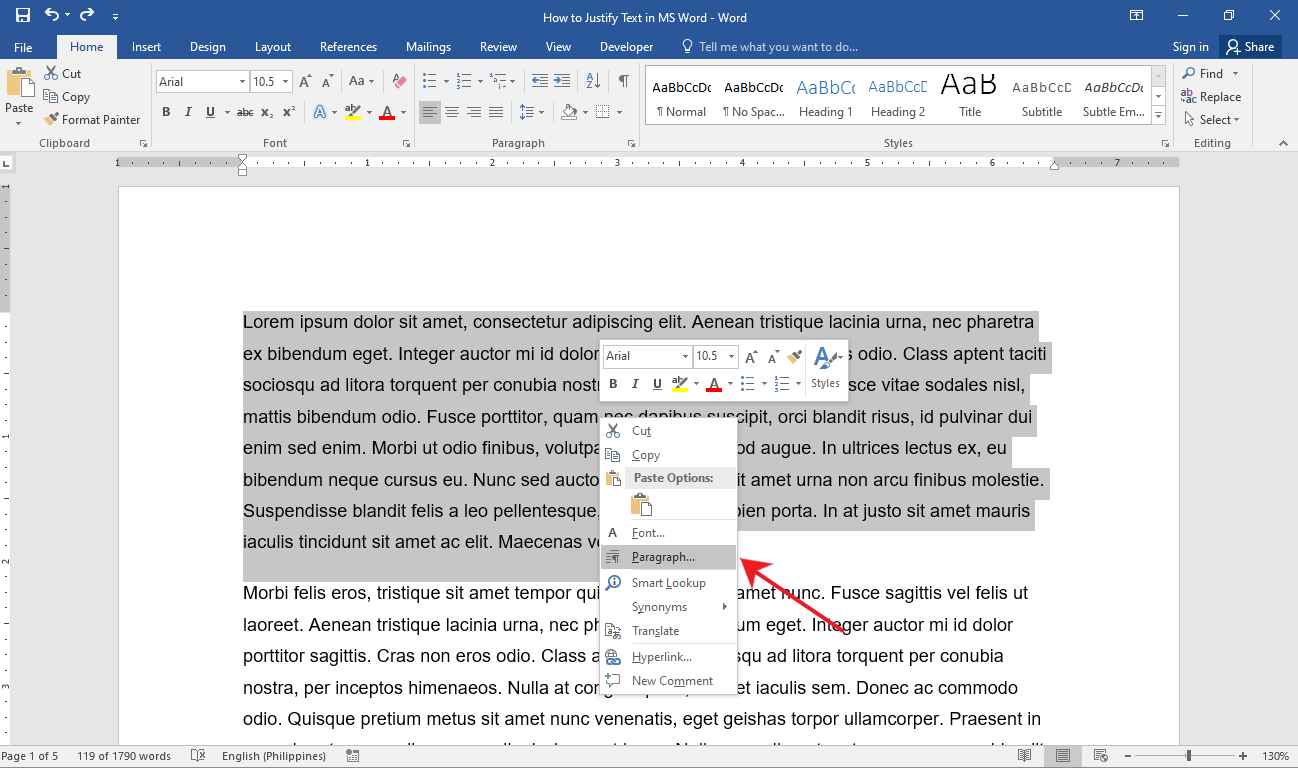
Step 3: Access the Context menu.
With the text selected, right-click on it and select Paragraph.
This will display the Paragraph dialogue box right in the middle of your screen.
On the dialogue box, under Indents and Spacing, click the Alignment drop-down menu and select Justified.

Click the OK button to save or Cancel to revert changes.

Voila! You’ve just used the context menu to justify text in Word.
Conclusion
We hope you’ve found this article helpful!