Data on an MS Excel sheet can be quite boring. To spice things up, you might want to add GIFs. Adding GIFs can also be useful if you want to include animated graphs for easier visualization.
Fortunately, there are easy ways to insert GIFs with animations.
2 methods to insert GIFs in MS Excel
- Using the Insert option
- Using the PowerPoint object
Method 1: Using the Insert option
This is one of the easiest methods to insert a GIF in MS Excel.
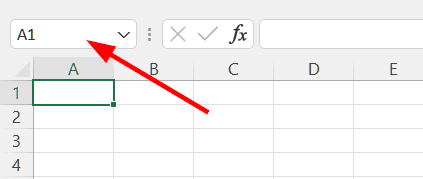
Step 1: Highlight the cell you’d like to place the GIF.
Highlight the cell by clicking on it. You can see the selected cell in the Name box.
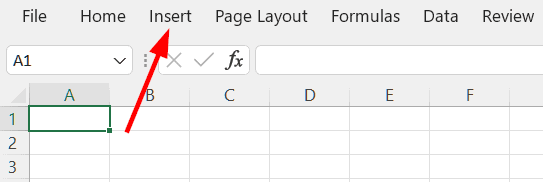
Step 2: Click Pictures from the Insert option.
In the main menu bar, click on Insert. Tap on Pictures to insert a GIF into your workbook.

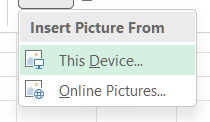
Step 3: Choose the location of your picture.
Now, you need to choose the location of your picture. Click This Device… if your GIF is stored in your computer. If the GIF is online, tap Online Pictures…
We choose This Device… in this instance because the GIF is in the computer.
Step 4: Select your picture.
After choosing the location, find the GIF you want to insert. Click on it to select it and tap on the Insert button.

Step 5: Resize your GIF.
Once you click the Insert button, your GIF will be inserted in its original size. You can resize the GIF. Hover over the dot at the ends of the image; your cursor will turn into a double-headed arrow. Drag it to resize your GIF.
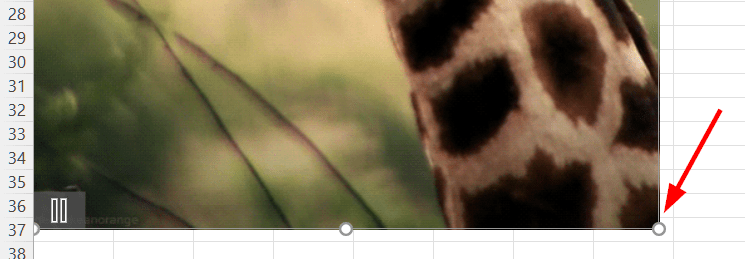
You can pause or play the animation by clicking on the pause/play button on the GIF.

Method 2: Using the PowerPoint object
This method uses a PowerPoint object to insert a GIF into MS Excel.
Step 1: Highlight a cell and click Insert.
Highlight the cell you’d like to insert the GIF. Now, tap on Insert in the main menu bar.
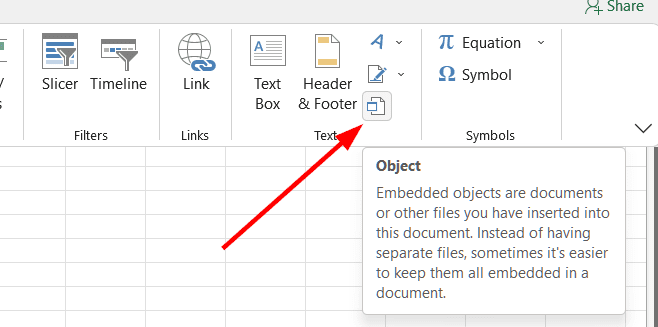
Step 2: Tap on the Object icon.
Click on the Object icon in the far right, next to the Header & Footer option.
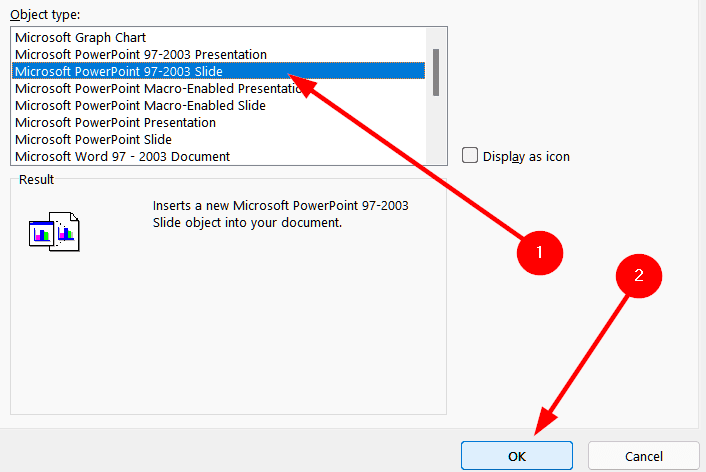
Step 3: Choose your object type.
Now, you can see a dialog box to select the object type. Tap on Microsoft PowerPoint 97-2003 Slide. Click the OK button to confirm your choice.
Wait for the object to be inserted.
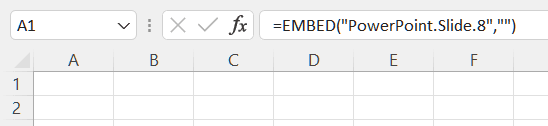
You can now see the default PowerPoint slide in your Excel sheet.
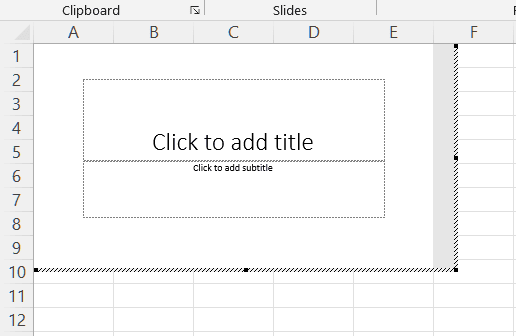
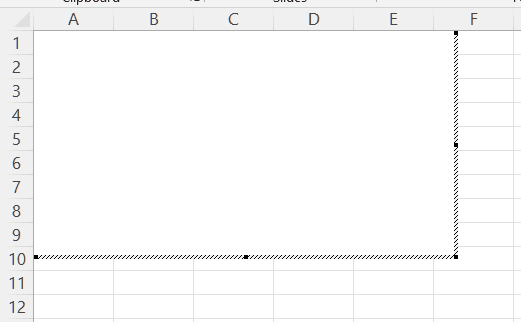
Step 4: Change the PowerPoint slide to a blank one.
Right-click on the slide and tap on Layout. Click on the Blank option to turn the default Title Slide to a Blank one.

You can now see a blank slide in which you can insert a GIF.
Step 5: Copy the GIF you want to insert.
Go to the file location of your GIF. Right-click and click the Copy option to copy the image.

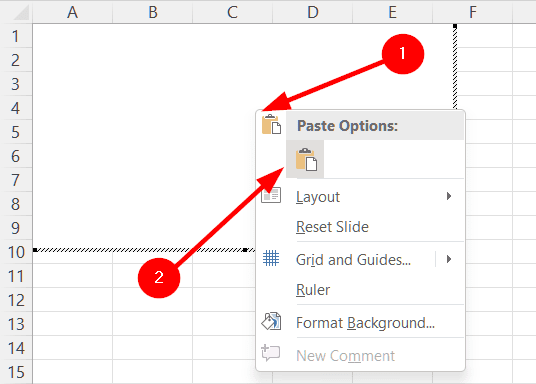
Step 6: Paste the GIF in your Excel sheet.
Now, go to your Excel sheet and paste the image into the blank slide. You can paste it by pressing Ctrl + V or by right-clicking and tapping on the Paste icon.
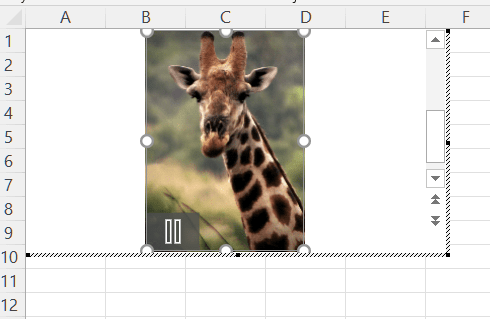
You can now see the GIF in your blank slide.
Wrapping up
No more scratching your head to insert a GIF to make your Excel sheet more interactive and lively. You now have two easy methods at hand to insert a GIF in MS Excel.