The default background colour of your Google Docs pages is white. You can change the background colour to any colour that you want.
There are many benefits of changing the background color of your Google Docs pages. It makes your pages look more colorful, something different from the typical pages.
Changing the background colour is especially useful if you are creating artwork. Some examples include greeting cards, social media posts and logos.
There are two options for changing the background colour of your Google Docs page. One, you can change the background colour of the entire document. Alternatively, you can also change the background colour of a single page. This allows you to have different-coloured pages in your document.
3 ways to Change Background Color of Google Docs
- Going to the ‘Page setup’ option in the File menu
- Inserting a text box from the Insert menu
- Creating separate documents and merging them
Note that this article is intended for complete beginners. Hence, you can follow along even if you’ve never used Google Docs before.
With that introduction, let’s get started.
Method 1: Going to the ‘Page setup’ option in the File menu
One way of changing the background colour of your Google Docs documents is by going to the File menu. Here, you can open the ‘Page setup’ window to change the background colour.
The benefit of using this method is that it is simple. You can change the colour in just a few simple steps. It’s also useful if you want to change the background colour of your entire document, rather than just a few pages.
However, that is also the downside of using this method. You don’t have the option to change the background colour for only a few pages. If you change the background colour of one page, it will be applied to the rest of the document (and new pages as well).
Hence, if you want to have different coloured pages in your document, you can follow one of the other two methods.
Below are the steps for this method.
Step 1: Open your Google Docs document.
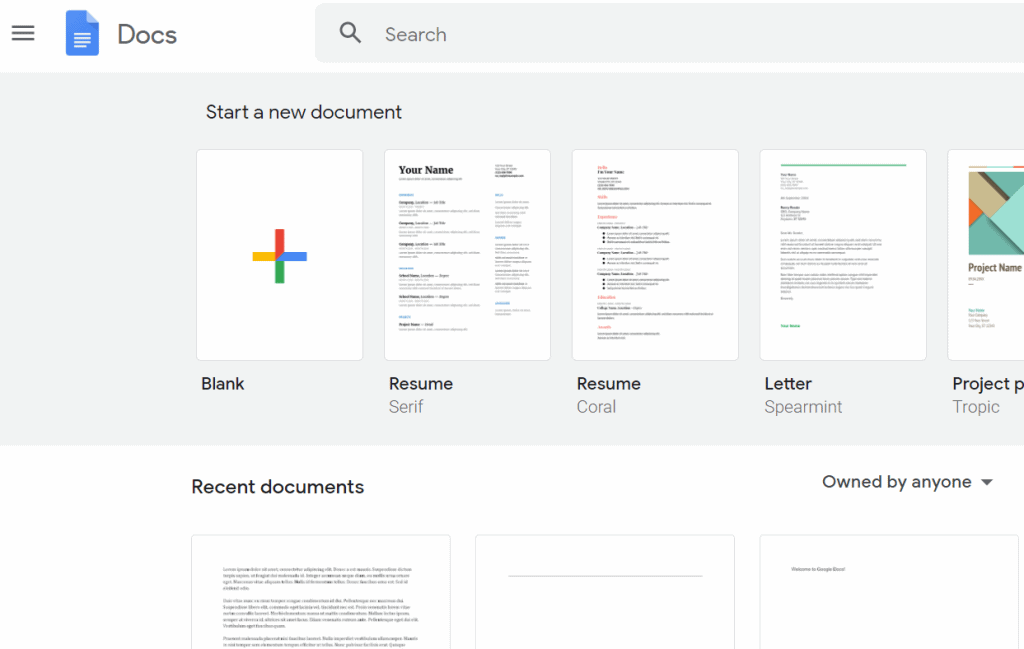
The first step is to open the Google Docs document in which you want to change the background colour. To do this, type docs.google.com in the search bar of your browser and press enter. This will take you to Google Docs’ homepage. Make sure that you are first signed into your Google account.
There are two options for opening your Google Docs document. The first option is to open an existing document. To do this, simply select one of the files under ‘Recent documents’. This will open the document in a new tab.
The other option is to create a new document. You can create a blank document by clicking on the plus sign at the top of the screen. This will also open the empty document in a new tab. You can also type docs.new in the search bar of your browser and press enter. This is a shortcut for creating a blank document.
Rather than creating a blank document, you can choose one of the template instead. Google Docs offers templates for various types of documents, including resumes and reports. You can choose the template you like the most and start editing it.
Step 2: Click on the File tab.
The File tab is located in the top left corner of the screen. Click on it to open the File menu.

Step 3: Click on the ‘Page setup’ option in the File menu.
The last but one option in the File menu is the ‘Page setup’ option. Click on it to open the Page setup window.
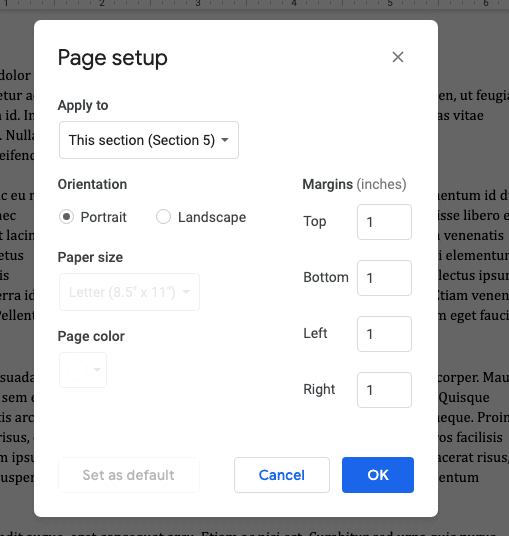
Step 4: Change the background colour in the Page setup window.
The final step is to change the background colour of your page.
However, before you do this, make sure that the ‘Apply to’ setting is ‘Whole document’. If it’s set to anything else, click on it and change the setting to ‘Whole document’.
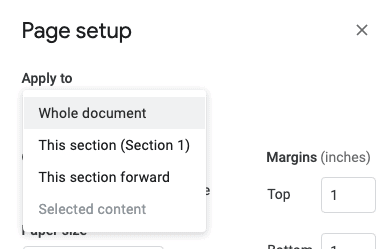
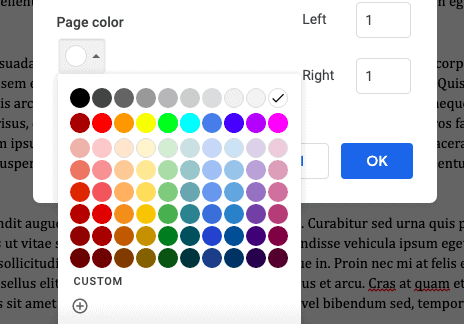
Now, click on the circle right below ‘Page color’ and choose one of the colours. If you don’t find a colour you like in the menu, you can also create and select a custom colour.

Step 5: Click on ‘OK’. If you want, also select ‘Set as default’.
Once you’re done choosing a colour for your document, you can either click on ‘Set as default’ or ‘OK’. If you click on ‘Set as default’, the page colour of all your future documents will also set to this colour.
If you click on ‘OK’, only the page colour of your current document will be changed. The colour of future documents will be white.

Method 2: Inserting a text box from the Insert menu
The next method of changing the background colour of your pages is by inserting shapes.
The benefit of this method is that it allows you to change the background colour of a single page in your document.
However, there are some downsides of using this method. For one, it takes more time and effort than the other two methods. This is because you have to adjust the size of your text box and margins to make sure that you cover the entire page.
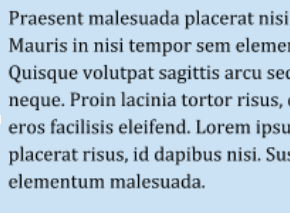
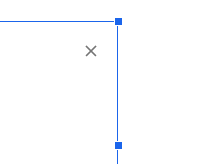
Moreover, increasing the size of the text box can worsen the resolution of your text. Here’s an example of a text box with a poor resolution:
It can also sometimes be difficult to adjust the margins so that your text box covers the entire page. Below is an example. Even though we set the margin to 0, you can still see the header:

With that in mind, below are the steps for this method.
Step 1: Copy/cut the text to insert in the text box.
The first step is to copy or cut the text that you would like to insert in your text box. To copy the text, press Control + C (or Command + C, if you’re using a Mac). To cut the text, press Control + X (or Command + X). You can also choose these options by double-clicking on the screen or going to the Edit tab.
You can skip this step if you would rather type the text in the box.
Step 2: Click on the Insert tab.
The Insert tab, like the File tab, is located in the top left corner of your screen. Click on it to open the Insert menu.
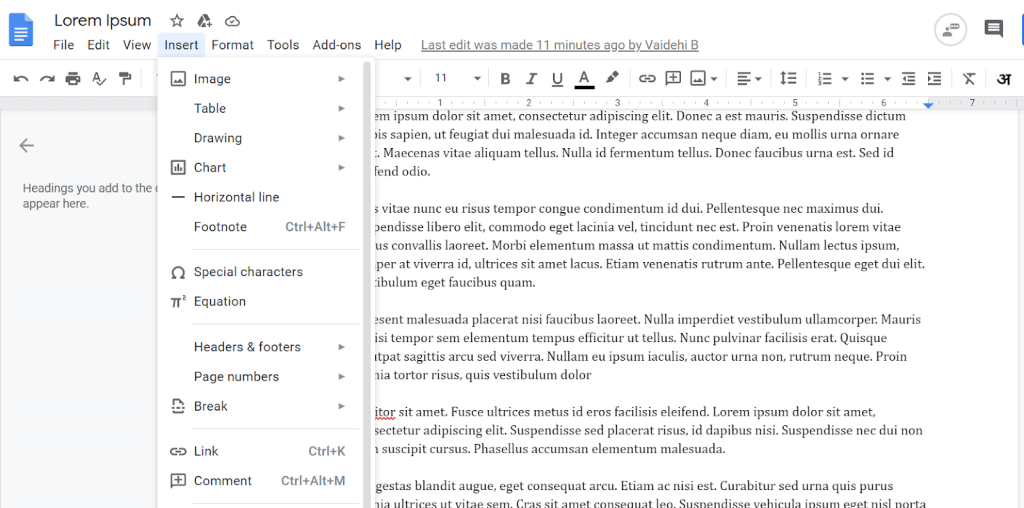
Step 3: Click on Drawing then New.
The third option in the Insert menu is Drawing. Click on it to open another small drop-down menu. From this menu, choose ‘New’. This will open the Drawing window.

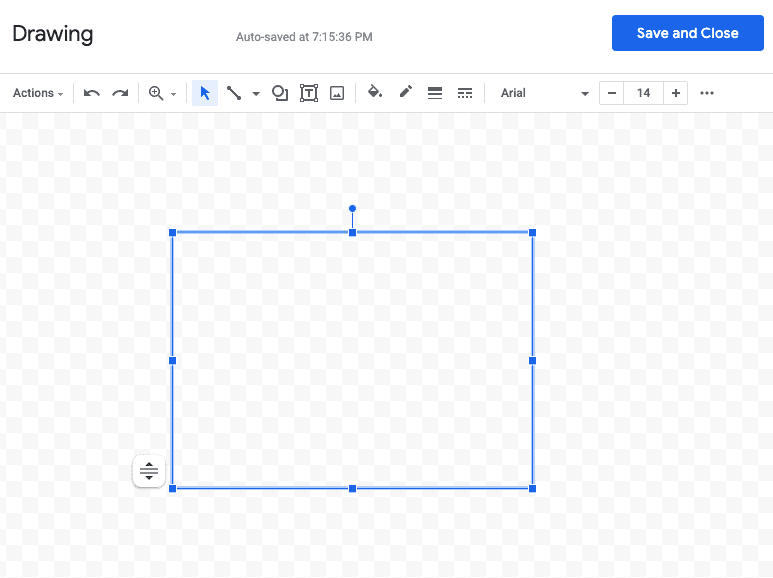
Step 4: Create a text box and paste your text.
In the Drawing window, click on the text box icon. To draw the text box, drag your cursor across the screen.
Once you have an empty text box, click on it and paste the text. You can press Control + V (or Command + V if you are using a Mac) to paste the text. You can also choose the ‘Paste’ option by double-clicking on the screen or by going to the Edit tab.
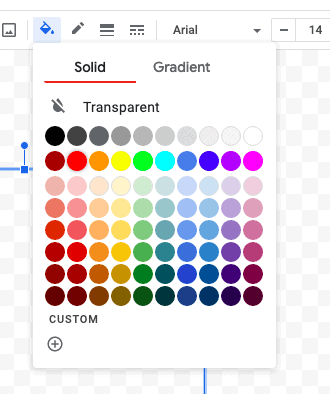
Step 5: Change the background colour of your text box.
Next, change the background colour of your text box from the toolbar in the Drawings window. You can choose one of the existing colours or create a custom colour. You can also change other things, like the font style and colour of your text.
Step 6: Click on ‘Save and Close’.
Once you are done formatting your text and text box, click on ‘Save and Close’. This will insert the text box in your document.

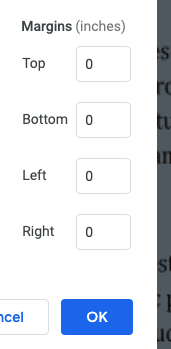
Step 7: Change the margins to 0.
The next step is to remove the margins. This is important, as you want to ensure that the text box covers the entire page. This will make it seem as though you changed the page colour.
One way to remove your margins is by clicking on the File tab then going to the Page setup window. Under ‘Margins’, change all the margins (Top, Left, etc.) to 0.
Step 8: Increase the size of your text box so that it covers the entire page.
The final step is to increase the size of your text box to fully cover the page. You can do this using the anchors at the corners of your text box.
Once you are done, you can also change the alignment of the text in your text box. To do this, double click on the text box and make any necessary changes. Click on ‘Save and Close’ once you are done.
Method 3: Creating separate documents and merging them
The last method we will be discussing involves creating separate documents. You can create one page in one document and another page in another document. This allows you to choose different colours for different pages. You can also compile all these pages into a single file by downloading the documents.
The benefit of this method is that it allows you to create a document with different coloured pages. It is also simpler than the previous method.
However, the downside is that you cannot compile the pages in Google Docs. You can also compile them by downloading them as PDFs.
Here are the steps for this method.
Step 1: Click on the File tab and open the Page setup window.
Go to your first document and click on the File tab. It is located in the top left corner of the screen. Then, click on the Page setup option at the end of the menu. This will open the Page setup window.

Step 2: Change the page colour from the Page setup window.
Click on the circle below page colour and choose a colour. You can also create a custom colour rather than choosing an existing one.
Step 3: Repeat this for as many documents as you want.
Now, do the same thing for other documents. You can create a blank document by typing docs.new in your browser’s search bar and pressing enter. You can also go to Google Docs’ homepage and click on the plus sign at the top of the screen.
Then, open the Page setup window and choose a different colour.
Step 4: Download your documents.
This step is optional. If you don’t want to merge your documents, you don’t have to follow this step.
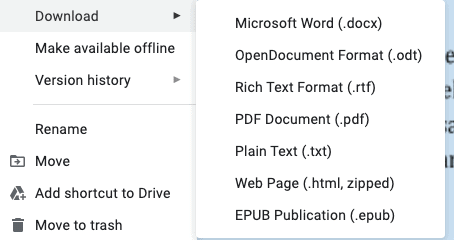
If you do want to merge your documents, the first step is to download them. To do this, click on the File tab. From the drop-down menu, select ‘Download’. Click on ‘PDF Document’ from the smaller drop-down menu. Give a name to your document and save it.
Step 5: Merge your documents using Small PDF.
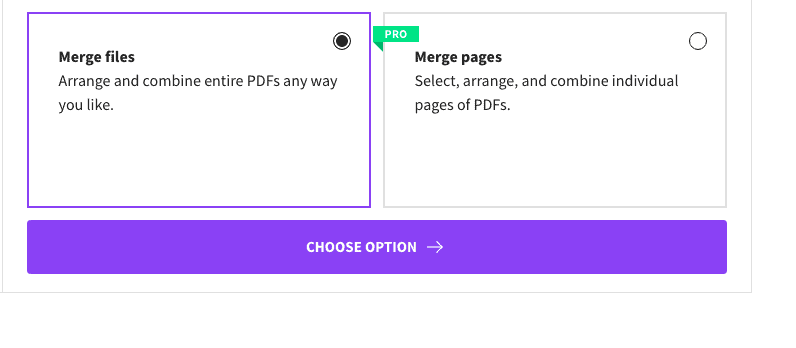
Small PDF is a website that allows you to merge your documents. Once you’ve downloaded all your documents, go to smallpdf.com/merge-pdf. Then, upload your documents to the website and select ‘Merge files’. From the new page that opens, select ‘Merge PDF’.
Once the merging process is complete, click on the Download button. You now have a document whose pages are different colours.
Conclusion
This brings us to the end of the article! We covered a lot today, so here’s a brief recap.
The default background colour of your Google Docs pages is white. However, you can change this to any colour you want.
The first method of changing the background colour is by going to the File menu then select Page setup. The problem with this method is that you cannot change the colour of a single page. The new background colour is applied to the entire document.
Google Docs doesn’t give you the option of changing the background colour of a single page. However, there are two work-arounds to this problem.
The first alternative is to create a text box. You can enter your document’s text in this text box and expand it so that it covers the entire page. Make sure to remove the margins.
Another option is to create separate documents with different background colours. You can then download and merge them using a website.
Thank you for reading!