You may be selling a house, a car, or electronic equipment. Although you have several means of advertising your sale, using the physical flyer is the most common. That is because of the ease of putting up flyers almost anywhere, from poles to bulletin boards, or even on a wall.
Making a flyer is not a difficult task. Moreover, Microsoft Word has made the task even simpler.
Three methods for making flyers in MS Word:
- Using Basic Tools
- Using Pre-Built Templates
- Using Free Templates from Websites
Let us demonstrate to you all the above methods with simple instructions.
Here we go.
Method #1: Use Basic Tools to Make a Flyer
Step #1: Open MS Word
Open MS Word.
In the left panel, click the New button.

In the right panel, under New, click the Blank Document icon.
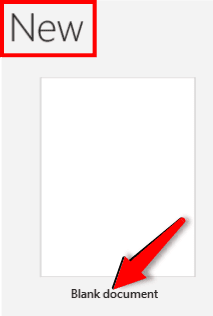
Word will open a new black document.
Step #2: Resize the Page
Note: It is advisable to resize the page to a standard paper size before you begin. US and Canada use letter-sized papers (8.5 x 11 inches) as standard. The international standard is the A4-sized paper (8.27 x 11.69 inches). We will use the A4 size. You can use any size to suit your requirement.
Click the Layout tab in the top menu bar to change the ribbon.

In the section Page Setup, click the Orientation icon.
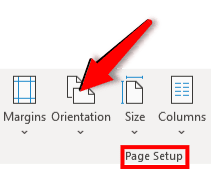
In the menu that opens, click the Landscape icon.

The page will change to the landscape orientation.
In the section Page Setup, click the Size icon.
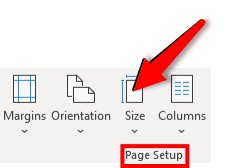
In the menu that opens, click the A4 icon.

The page will change its dimensions to A4.
In the section Page Setup, click the Margins icon.
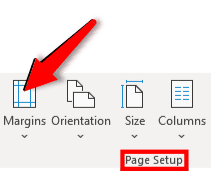
In the menu that opens, click the Narrow icon.

The page will change its margins to 0.5” all around.
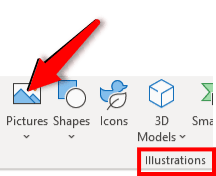
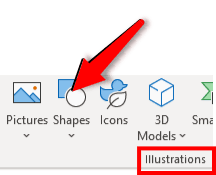
Step #3: Insert an Image
Click the Insert tab in the top menu bar to change the ribbon.

In the Illustrations section, click the Pictures icon.
The Insert Pictures From menu will appear.
Click the appropriate source of your image.
Note: We will select an image from This Device….
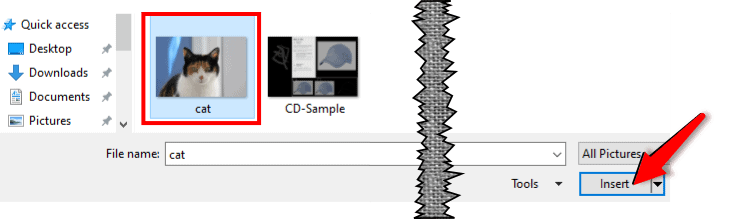
The File Explorer will open.
Navigate to the location of your image.
Select the image and click the Insert button.
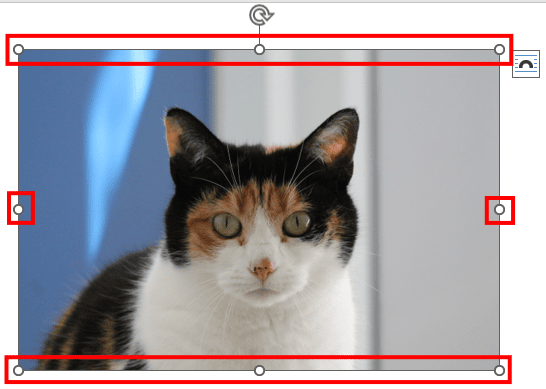
Word will insert the selected image into the page.
Change the size and orientation using the handles.
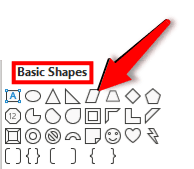
Step #4: Insert Basic Shapes
Click the Insert tab in the top menu bar to change the ribbon.
In the section Illustrations, click the Shapes icon.
A drop-down menu will appear.
Under Basic Shapes, click the Parallelogram icon.
The cursor will change to a cross.
Position the cross at a suitable location on the page.
Click and hold down the mouse button.
Drag the mouse to an opposite corner and release it.
Word draws a parallelogram on the page.
Size and position the Parallelogram appropriately, using its handles.

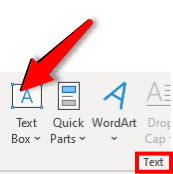
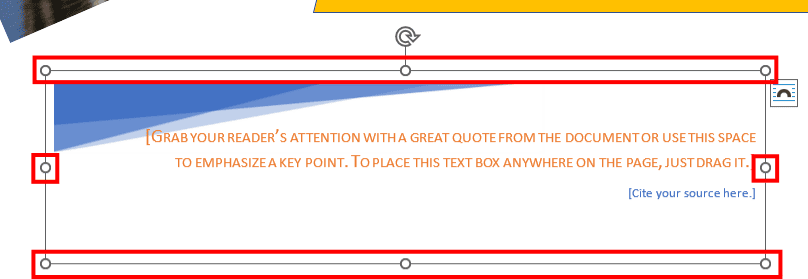
Step #5: Insert Text Box
Click the Insert tab in the top menu bar to change the ribbon.
In the section Text, click the Text Box icon.
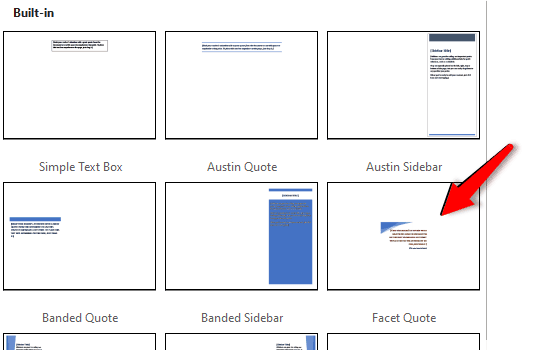
An array of built-in text boxes will appear.
Click a suitable text box.
The selected text box will appear on the page.
Size and position the text box using its handles.
Step #6: Fill Text
Click the parallelogram to select it.
Right-click inside the parallelogram.
A drop-down menu will appear.
Click the Add Text icon.
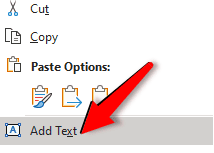
Fill in suitable text.

Click the text box.
Replace the text with relevant text.
Change the font, size, color, and position suitably.

Your flyer is ready for printing.

Method #2: Make a Flyer using Pre-Built Templates
Step #1: Download a Suitable Template
Open MS Word.
In the left panel, click the New button.

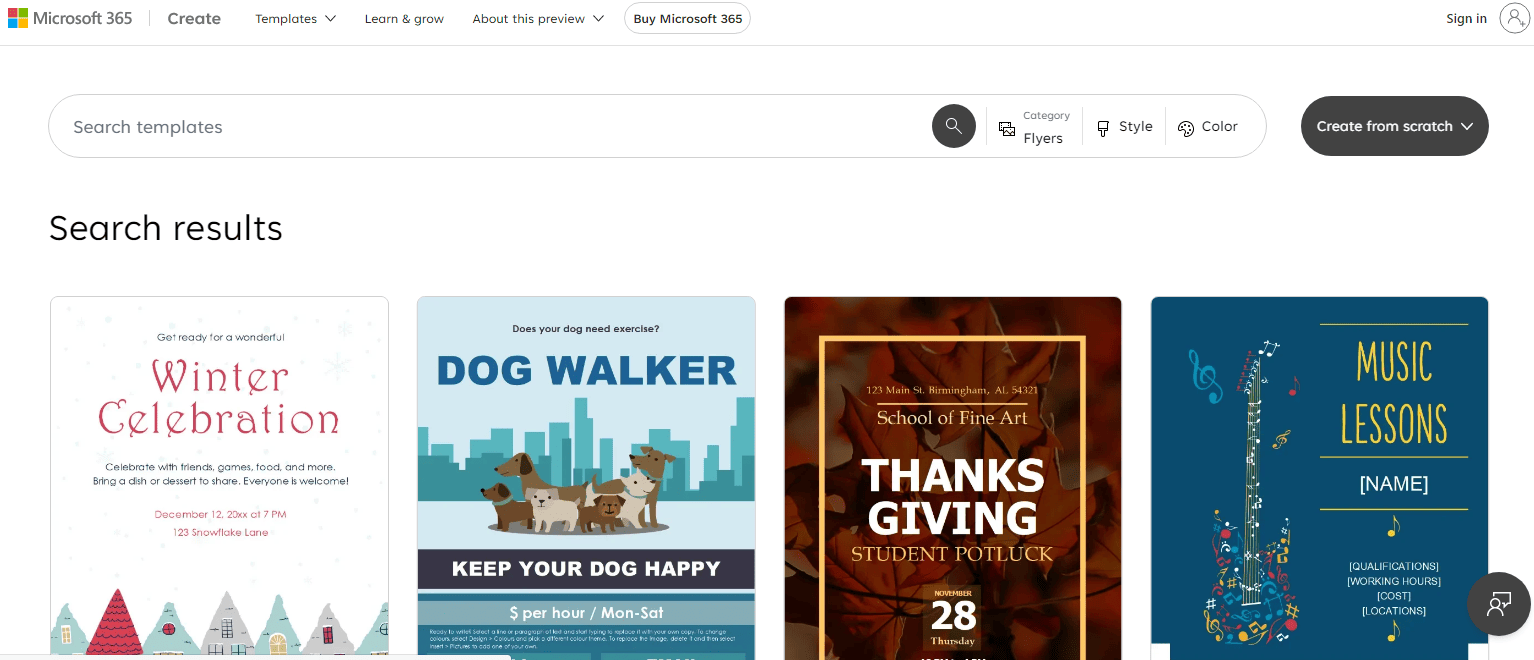
In the right panel, type Flyer, and click the search icon.
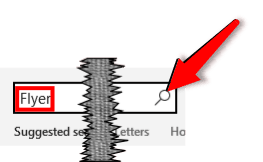
Word will open many pre-built flyer templates.
Click a suitable template to use.
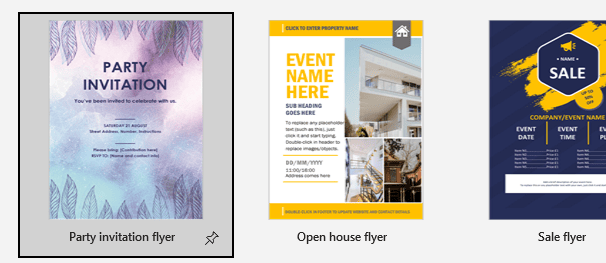
On the next screen, you will see an image of the template.
Click the Create button.

Word will download the template into a new page.

Step #2: Change the Text
Change the text in the flyer to your liking.
Step #3: Insert an Image
Click the Insert tab in the top menu bar to change the ribbon.

In the Illustrations section, click the Pictures icon.

The Insert Pictures From menu will appear.
Click the appropriate source of your image.
Note: We will select an image from This Device….
The File Explorer will open.
Navigate to the location of your image.
Select the image and click the Insert button.

Word will insert the selected image into the page.
Change the size and orientation using the handles.

Your flyer is now ready for printing.

Method #3: Make a Flyer Using Free Templates from Websites
Step #1: Select a Template
Fire up your favorite browser.
Go to the flyer templates website of Microsoft.
The website has many templates for flyers.
Click the one most suitable for your purpose.
Step #2: Download the Template
The next page will open.
Click the Customize in Word button.

You will have to sign in to your Microsoft account.
Microsoft 365 will open and display the chosen template.
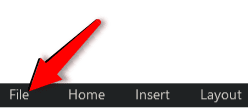
Click the File tab in the top menu bar to open the File menu.
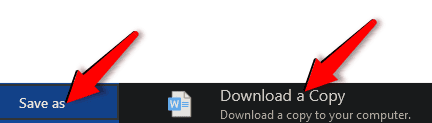
Click the Save as tab in the left pane.
Click the Download a Copy tab in the right pane.
A pop-up window will open.
Click the Download a copy tab.

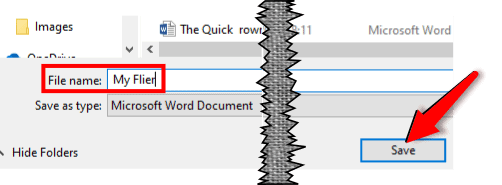
File Explorer will open.
Navigate to the folder where you want to download the file.
Enter a proper file name.
Click on the Save tab.
Step #3: Open the Template
Open File Explorer.
Navigate to the folder where you have stored the downloaded file.
Click the file.
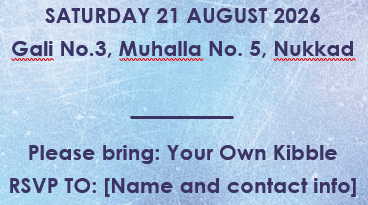
Word will open and display the flyer.

Step #4: Modify the Text
Click the text you want to modify.
Change the text appropriately.

Your flyer is ready for printing.
Conclusion
We have shown you three methods of making a flyer using MS Word. Use the one most suitable for your application. If you have any questions, please ask in the comments section below.